How to Calculate the Number of Bacteria Using a Hemocytometer (Direct Microscopic Count)
By Dr. Zubair Khalid, DVM, MS, PhD ·
Key Takeaways
- The hemocytometer enables direct microscopic enumeration of bacterial cells, providing a total cell count (live and dead) in approximately 5-15 minutes, with an optimal detection range of 10⁶–10⁷ cells/mL.
- This method relies on a specialized glass slide with a precisely etched grid and a defined chamber depth (typically 0.1 mm), allowing for volume calculation based on cell counts within specific grid areas.
- Accurate counting requires appropriate magnification (400×–1000×), a specialized thick coverslip, and careful adherence to counting rules, including counting cells on top and left boundary lines to avoid double-counting.
- The calculation formula is: Cells/mL = (Average number of cells per large square) × (Dilution factor) × 10⁴, where 10⁴ accounts for the volume conversion from 0.1 µL to 1 mL.
- Limitations include inaccuracy for bacteria <0.5 µm, low cell densities (<10⁵ cells/mL), and the inability to differentiate viable from non-viable cells without additional staining (e.g., with trypan blue).
- Quality assurance measures such as positive and negative controls, replicate counts, and operator blinding are crucial for validating technique accuracy and minimizing variability.
The hemocytometer (also called a counting chamber) is a specialized glass slide with an etched grid of known dimensions that enables direct microscopic enumeration of bacterial cells in a liquid suspension. This method provides a total cell count (both living and dead cells) within minutes, expressed as cells per milliliter (cells/mL). It is most useful when you need an immediate estimate of bacterial concentration, for example, to standardize an inoculum for an experiment, to monitor growth in a liquid culture, or to assess cell density before downstream applications such as DNA extraction or protein assays. Unlike culture-based methods (e.g., colony-forming unit [CFU] counting), the hemocytometer count does not require incubation and is not affected by bacterial viability or culturability. However, it cannot distinguish live from dead cells without additional staining, and it is less accurate for very small bacteria (≤0.5 µm) or samples with low cell densities (<10⁶ cells/mL) [<a href="#ref-1">1</a>].
At a Glance
| Aspect | Detail |
|---|---|
| Method type | Direct microscopic count (total cell count) |
| Equipment needed | Hemocytometer, coverslip, compound microscope (400×–1000× magnification), micropipette |
| Time to result | 5–15 minutes per sample |
| Typical detection range | ~10⁵ to 10⁸ cells/mL (optimal: 10⁶–10⁷ cells/mL) |
| Output | Cells per milliliter (cells/mL) |
| Distinguishes live vs. dead? | No (requires viability stain such as trypan blue or LIVE/DEAD kits) |
| Key limitation | Inaccurate for submicron bacteria; operator-dependent variability |
| Biosafety level | BSL-1 for non-pathogenic bacteria; higher containment required for risk group 2+ organisms |
Scientific Principle of the Hemocytometer
The hemocytometer relies on a precisely manufactured counting chamber with a defined depth (typically 0.1 mm) and an etched grid pattern. The grid consists of nine large squares, each 1 mm × 1 mm. The central square is subdivided into 25 smaller squares (each 0.2 mm × 0.2 mm), and these are further divided into 16 tiny squares (each 0.05 mm × 0.05 mm). When a coverslip is placed over the chamber, the volume above each large square is 0.1 mm³ (1 mm × 1 mm × 0.1 mm), which equals 0.1 µL or 10⁻⁴ mL. By counting the number of bacterial cells within a defined area and multiplying by the appropriate conversion factor, you obtain the concentration in cells per milliliter.
The fundamental equation is:
Cells/mL = (Average number of cells per large square) × (Dilution factor) × 10⁴
The factor 10⁴ converts the volume of one large square (0.1 µL) to 1 mL. This calculation assumes that the bacterial suspension is evenly distributed across the grid and that the chamber depth is exactly 0.1 mm.
Materials and Instrumentation Choices
Hemocytometer Selection
Standard hemocytometers (e.g., Improved Neubauer, Bright-Line) are suitable for most bacterial counting applications. The Improved Neubauer pattern is the most common and is recommended for its clear grid markings and well-defined counting rules. Some manufacturers offer disposable plastic hemocytometers, which eliminate the need for cleaning and reduce the risk of cross-contamination, but they may have slightly different chamber depths; always verify the manufacturer's specifications.
Microscope Requirements
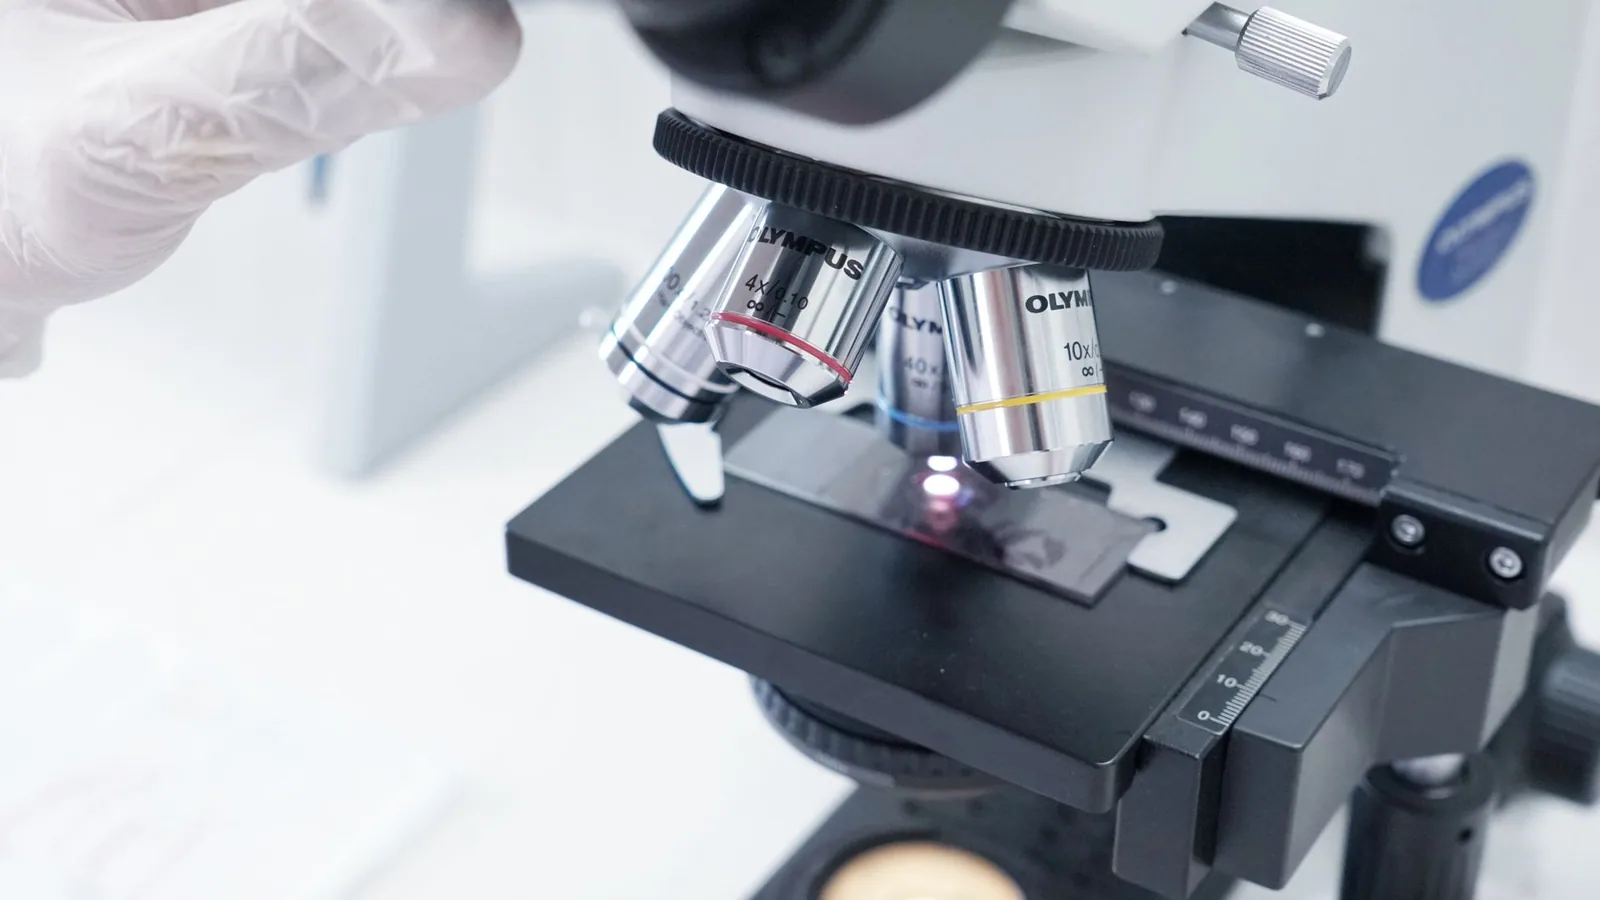
A compound microscope with a 40× objective (400× total magnification) is sufficient for counting most bacteria (1–5 µm in length). For very small bacteria (0.5–1 µm), a 100× oil-immersion objective (1000× total magnification) may be necessary to resolve individual cells [<a href="#ref-1">1</a>]. Phase-contrast optics can improve contrast for unstained bacteria, but bright-field microscopy with reduced condenser aperture is often adequate.
Coverslip
Use the specialized thick coverslip (usually 0.4–0.5 mm thick) provided with the hemocytometer. Standard microscope coverslips (0.13–0.17 mm) are too thin and may not seat properly, altering the chamber depth and invalidating the volume calculation.
Pipettes and Tips
Use a micropipette capable of delivering 10–20 µL accurately. Positive-displacement pipettes are preferred for viscous or dense bacterial suspensions, as they minimize carryover and volume errors.
Diluent
Sterile phosphate-buffered saline (PBS, pH 7.4) or 0.85% saline is commonly used to dilute samples. For bacteria that tend to clump, adding a low concentration of a dispersant (e.g., 0.1% Tween 80 or 0.05% sodium dodecyl sulfate) may improve counting accuracy. Always test the dispersant for bactericidal effects if viability is a concern.
Controls and Quality Assurance
Positive Control
Count a suspension of uniform, non-motile particles (e.g., 1 µm or 5 µm polystyrene microbeads) of known concentration to verify the accuracy of your technique and the calibration of the hemocytometer [<a href="#ref-1">1</a>]. The measured concentration should be within ±20% of the manufacturer's stated value.
Negative Control
Count the diluent alone (e.g., sterile PBS) to confirm that no contaminating particles or bacteria are present. This control should yield zero cells per large square.
Replicate Counts
Count at least two separate aliquots from the same sample. For each aliquot, count cells in at least two large squares (or the central 25-square grid). The coefficient of variation (CV) between replicate counts should be ≤15% for experienced operators. Higher variability indicates uneven sample loading, clumping, or counting errors.
Operator Blinding
When comparing multiple samples, have the operator count samples in random order without knowledge of sample identity to reduce confirmation bias.
Conceptual Workflow
Step 1: Prepare the Bacterial Suspension
Gently vortex or pipette-mix the bacterial culture to ensure a homogeneous suspension. If the culture is dense (optical density at 600 nm > 0.5), prepare a serial dilution in sterile PBS or saline. The goal is to obtain a suspension that yields 20–50 cells per small square (or 200–500 cells per large square) after loading. This corresponds to approximately 10⁶–10⁷ cells/mL in the undiluted sample.
Step 2: Clean the Hemocytometer and Coverslip
Clean the hemocytometer and coverslip with 70% ethanol and a lint-free lens wipe. Allow them to air-dry completely. Do not use abrasive materials that could scratch the grid.
Step 3: Load the Chamber
Place the coverslip over the counting chamber. Using a micropipette, carefully introduce 10–20 µL of the bacterial suspension at the edge of the coverslip. Capillary action will draw the liquid into the chamber. Avoid overfilling or underfilling; the liquid should just cover the grid area without spilling into the moats. Do not allow air bubbles to form.
Step 4: Allow Cells to Settle
Let the loaded hemocytometer sit undisturbed for 1–2 minutes to allow bacterial cells to settle onto the grid plane. Motile bacteria may require longer settling or a brief centrifugation step (e.g., 5,000 × g for 5 minutes) followed by resuspension in a non-nutrient buffer to reduce movement during counting.
Step 5: Focus and Identify Cells
Place the hemocytometer on the microscope stage. Using the 10× objective, locate the central grid. Switch to the 40× objective (or 100× oil immersion for very small bacteria) and focus on the grid lines. Bacteria appear as small, refractile rods or cocci. Adjust the condenser and light intensity to maximize contrast. If using phase-contrast, bacteria will appear bright against a dark background.
Step 6: Count Cells in a Defined Area
Choose a counting pattern. The most common approach is to count all cells within the central 25-square grid (which corresponds to the area of one large square). Alternatively, count cells in four corner large squares and the central large square, then average the five counts.
Counting rules:
- Count cells that lie on the top and left boundary lines of each small square.
- Do not count cells on the bottom and right boundary lines (to avoid double-counting).
- Count clumps of cells as individual cells only if you can clearly resolve each cell. If clumps are frequent, note this in your results and consider using a dispersant or sonication in future experiments.
- For each small square, count all cells within the square and those touching the top and left borders.
Step 7: Calculate the Concentration
Record the number of cells counted in each small square (or each large square). Calculate the average number of cells per large square. Apply the formula:
Cells/mL = (Average cells per large square) × (Dilution factor) × 10⁴
Example: You count 240 cells in the central 25-square grid (which equals one large square). Your sample was diluted 10-fold before loading. The concentration is:
240 × 10 × 10⁴ = 2.4 × 10⁷ cells/mL
If you counted multiple large squares, use the average of those counts.
Step 8: Clean Up
Immediately after counting, remove the coverslip and rinse the hemocytometer and coverslip with distilled water. Wipe with 70% ethanol and store in a clean, dry case. Dispose of contaminated materials according to your institution's biosafety protocols [<a href="#ref-2">2</a>].
Quality Checks During Counting
Even Distribution
The number of cells per small square should follow a Poisson distribution. If one area of the grid has noticeably more cells than another (e.g., a 3:1 ratio between adjacent large squares), the sample was not evenly loaded. Discard and reload.
Optimal Density
If you count fewer than 10 cells per small square, the statistical error is high. Prepare a more concentrated sample or reduce the dilution factor. If you count more than 100 cells per small square, cells may overlap and be difficult to resolve; dilute the sample further.
Cell Morphology
Note any abnormal cell shapes, debris, or non-cellular particles that could be mistaken for bacteria. If debris is abundant, consider filtering the diluent or using a different counting method.
Troubleshooting
| Observation | Likely Cause | Discriminating Check |
|---|---|---|
| Cells are moving during counting | Motile bacteria; insufficient settling time | Wait 2–3 minutes; fix with 0.5% formalin (if viability not needed) or use a non-nutrient buffer |
| Air bubbles in chamber | Pipetting too forcefully; coverslip not seated properly | Reload with a fresh aliquot; ensure coverslip is clean and dry |
| Uneven cell distribution across grid | Incomplete mixing; chamber not level | Vortex sample again; reload; check that hemocytometer is on a level surface |
| Cells are too small to resolve clearly | Bacteria <0.5 µm; insufficient magnification | Use 100× oil-immersion objective; consider phase-contrast or a different counting method (e.g., flow cytometry) |
| High variability between replicate counts | Clumping; operator counting inconsistency | Add dispersant; practice counting with microbeads; have a second operator verify |
| Grid lines are faint or scratched | Worn hemocytometer; improper cleaning | Replace hemocytometer; use only lint-free wipes and ethanol |
| Counts are consistently lower than expected | Chamber depth incorrect; coverslip too thin | Use the supplied thick coverslip; verify chamber depth with manufacturer's specifications |
Limitations and Edge Cases
Small Bacteria
Bacteria smaller than approximately 0.5 µm (e.g., Mycoplasma species) are difficult to resolve with light microscopy and may be missed entirely. For such organisms, alternative methods such as flow cytometry or electron microscopy are more appropriate [<a href="#ref-1">1</a>, <a href="#ref-3">3</a>].
Low Cell Density
Samples with fewer than 10⁵ cells/mL yield very low counts per grid square, resulting in high statistical uncertainty (Poisson error >30%). Concentrate the sample by centrifugation (e.g., 10,000 × g for 10 minutes) and resuspend in a smaller volume before counting.
Clumping Bacteria
Some bacteria (e.g., Staphylococcus aureus, Streptococcus pneumoniae) naturally form clusters or chains. Gentle sonication (e.g., 30 seconds at low power in a bath sonicator) or vortexing with glass beads can disperse clumps. However, sonication may lyse some cells; validate the method with a viability stain if needed.
Biofilm or Adherent Cells
The hemocytometer method is designed for planktonic (free-swimming) cells. For biofilm-associated bacteria, you must first detach cells from the surface (e.g., by scraping, vortexing with beads, or enzymatic treatment) and resuspend them in a known volume of buffer. The resulting count reflects only the detached cells and may underestimate the total biofilm population.
Non-Cellular Particles
Debris, precipitated media components, or stain crystals can be mistaken for bacteria. Phase-contrast microscopy helps distinguish cells (which have internal structure) from inert particles. If in doubt, stain the sample with a DNA-specific dye (e.g., DAPI or SYTO 9) and use fluorescence microscopy.
Documentation and Reporting
For each counting session, record the following in your laboratory notebook or electronic record:
- Sample identifier and source
- Date and time of counting
- Operator name
- Hemocytometer type and lot number (if disposable)
- Dilution factor(s) used
- Number of large squares counted
- Raw counts for each square
- Calculated concentration (cells/mL)
- Any observations (e.g., clumping, motility, debris)
- Positive and negative control results
- Any deviations from the standard protocol
When reporting results in a publication or report, include the method description (e.g., "Bacterial counts were determined using an Improved Neubauer hemocytometer under 400× magnification") and the uncertainty (e.g., "mean ± standard deviation of three independent counts").
Biosafety Considerations
The hemocytometer method is routinely performed at biosafety level 1 (BSL-1) for non-pathogenic bacteria such as Escherichia coli K-12, Bacillus subtilis, or Lactobacillus species [<a href="#ref-2">2</a>]. For any organism classified as risk group 2 or higher (e.g., Staphylococcus aureus, Pseudomonas aeruginosa, Salmonella spp.), all work must be conducted in a certified biological safety cabinet (BSC) at BSL-2 containment. The hemocytometer should be decontaminated with a suitable disinfectant (e.g., 10% bleach or 70% ethanol for 10 minutes) after each use, and all waste (pipette tips, gloves, wipes) must be autoclaved before disposal [<a href="#ref-2">2</a>, <a href="#ref-4">4</a>].
Never use the hemocytometer method for select agents or for any organism requiring BSL-3 or BSL-4 containment without explicit institutional approval and appropriate facility engineering controls. The protocol described here is intended for teaching laboratories and routine research with well-characterized, non-pathogenic strains.
Frequently Asked Questions
1. Why is my hemocytometer count higher than my CFU count? This is expected. The hemocytometer counts all cells (live, dead, and injured), whereas CFU counts only viable cells that can divide and form colonies. The ratio of total cell count to viable count can range from 2:1 to 100:1 depending on the culture age, growth conditions, and bacterial species. This discrepancy is a key limitation of the direct microscopic count method.
2. Can I use a hemocytometer to count bacteria in soil or food samples? Yes, but with significant caveats. Soil and food samples contain abundant non-bacterial particles (organic matter, food debris) that can be mistaken for bacteria. Extensive sample preparation, including homogenization, filtration, and density gradient centrifugation, is required to obtain a clean bacterial suspension. Even then, the count may overestimate bacterial numbers due to particle interference. For complex matrices, culture-based methods or molecular techniques (e.g., qPCR) are often more reliable.
3. How do I count bacteria that form chains or tetrads? Count each visible cell as one unit, even if cells are attached. For chains of cocci (e.g., Streptococcus), count each individual coccus. For tetrads (e.g., Micrococcus), count all four cells. If chains are long and difficult to resolve, gently sonicate the sample to break chains into shorter segments before counting. Document the chain length distribution in your notes.
4. What is the minimum number of cells I should count for statistical reliability? Aim to count at least 200 cells total across all squares. This gives a Poisson error of approximately ±14% (√200/200). Counting 400 cells reduces the error to ±10%. If you count fewer than 100 cells, the error exceeds ±20%, and the result should be reported as an estimate rather than a precise concentration.
Related Clinical & Scientific Guides
- Loop-Mediated Isothermal Amplification (LAMP) Assay for Rapid Detection of African Swine Fever Virus in Oral Fluids
- How to Calculate the Concentration of Protein Using the Lowry Assay
- DNA Extraction from Saliva: Non-Invasive Sampling and Protocols
References and Further Reading
[1] Rahman KMT, Butzin NC. Counter-on-chip for bacterial cell quantification, growth, and live-dead estimations. *PLoS One*. 2024;19(1):e0296810. [PubMed](https://pubmed.ncbi.nlm.nih.gov/38191788/) [2] Centers for Disease Control and Prevention, National Institutes of Health. *Biosafety in Microbiological and Biomedical Laboratories (BMBL)*. 6th ed. U.S. Department of Health and Human Services; 2020. [CDC](https://www.cdc.gov/labs/bmbl/index.html) [3] Zhang J, Wang J, Zhu P, et al. Raman flow cytometry based single-cell species classification, viable-cell counting and vitality test for probiotic products. *Biosens Bioelectron*. 2025;270:116987. [PubMed](https://pubmed.ncbi.nlm.nih.gov/41674577/) [4] National Institutes of Health. *NIH Guidelines for Research Involving Recombinant or Synthetic Nucleic Acid Molecules*. [NIH Office of Science Policy](https://osp.od.nih.gov/policies/biosafety-and-biosecurity-policy/nih-guidelines-for-research-involving-recombinant-or-synthetic-nucleic-acid-molecules/) [5] Nasser N, Hassouna MSE, Salem N, et al. Evaluation of innovative dual-layer modified polyethersulfone membranes in the control of biofouling. *J Environ Chem Eng*. 2026;14(1):114567. [PubMed](https://pubmed.ncbi.nlm.nih.gov/42098195/) [6] Elekhnawy E, Moglad E, Sirag N, et al. Multifunctional bioactivity of eco-friendly Penicillium gladioli extract against [Toxoplasma gondii](/knowledge/parasites/protozoa/toxoplasma-gondii-lifecycle-neurological-infection) and Pseudomonas aeruginosa. *Microb Pathog*. 2025;198:107123. [PubMed](https://pubmed.ncbi.nlm.nih.gov/41298507/) [7] Yang M, Liu Y, Xia Y, et al. A synthetic microbial community derived from healthy apple rhizosphere alleviates apple replant disease. *Nat Commun*. 2025;16(1):1234. [PubMed](https://pubmed.ncbi.nlm.nih.gov/41209829/) [8] National Center for Biotechnology Information. *NCBI Bookshelf: Molecular Biology and Laboratory Methods*. [NCBI](https://www.ncbi.nlm.nih.gov/books/)Related Articles
- How to Calculate the Number of Bacteria Using the SimPlate Method
- How to Calculate the Number of Bacteria Using the Microcolony Method
- How to Calculate the Number of Bacteria Using the Swab and Rinse Method
- How to Calculate the Number of Bacteria Using the Tape Lift Method
- How to Calculate the Number of Bacteria Using the Agar Overlay Method
- How to Calculate the Number of Bacteria Using the Petrifilm Method